Custom color elevation in Locus Maps
Why would you need that?
Locus app has a built-in ability to display color elevation from offline downloaded files, but there’s only a number of predefined presets. These presets work well in most cases when you care about elevation (e.g. mountains), but they won’t work for mostly flat areas (such as Amazon rainforest).
This is how Locus built-in preset might look like for such terrain:

You can see some changes in the color (green getting yellowish in the higher areas), but barely.
And this is how the result of the setup described on this page might look like. Green areas are 50m lower than the red-white ones:
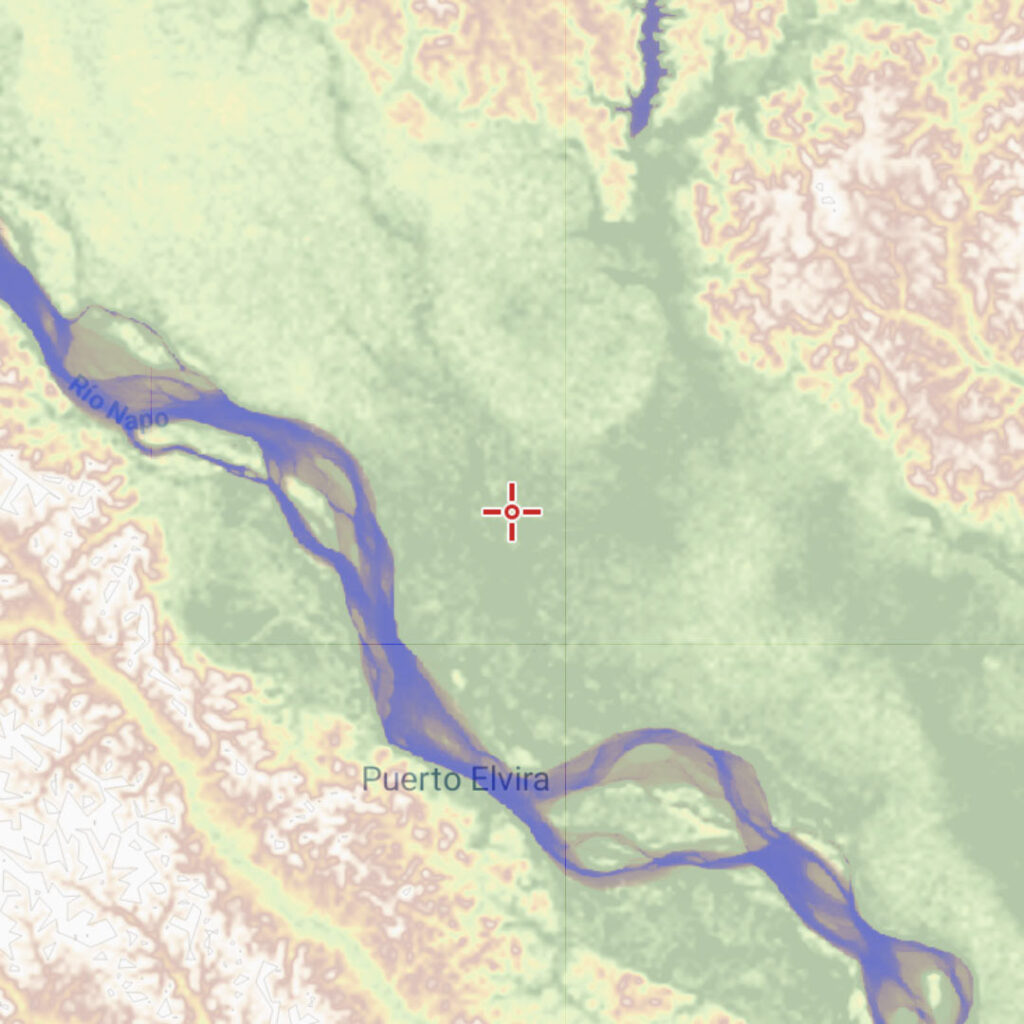
The root of the problem lies in the fact that Locus (at the time of writing this) does not support dynamic elevation palettes. That is, once you select some elevation palette, each specific elevation gets one exact color value mapped to it. This color will not change if you scroll the map to a different region. So, for example, if you load a palette designed to be used in the 0-1000m range, and in your area the elevation changes only by 20-50 meters across the entire screen, then you will get almost the same color mapped to each pixel (as was the case in the first image above).
The second image makes use of a custom elevation coloring tailored to the region. (And this post briefly describes one way of obtaining that.)
Prerequisites
- Locus Maps 3 Classic. These instructions might or might not work on the newer Locus Maps 4 (I have not tested it).
- Elevation data for the region downloaded into Locus (details).
- Some file manager app. I used Total Commander.
- Optional: Ability to synchronize files between your PC and phone (just because it’s easier to copy-paste and edit files on your PC). I use Resilio Sync for that.
Procedure
Locus documentation recommends downloading predefined palettes and fixing the elevation values in the CPT files manually (1st and 4th column of data in the file). For CPT files with lots of palette transitions that’s a lot of manual work though, so I wrote a script to automate that. The script is far from perfect, but it gets the job done.
- Visit my chatbot page and type
cptgen(this chatbot is a simple UI which I use for deploying quick projects like this one). - The bot will ask you for two numbers – min and max elevation. (There’s also a batch mode which will generate a ZIP file with multiple cpt files, although the argument-passing is a bit tricky there.)
- It will output the contents of the generated CPT file with the palette for these elevations.
- You need to copy this and store it in a file in
Locus/data/interpolatorson your phone. That’s the difficult part, especially on newer Androids (because it’s a protect data folder, accessible only via the Files app). - You need to repeat this process for multiple elevations you will need during your trip. So you will end up with files named, for example,
100-150.cpt,125-175.cpt,150-200.cpt, etc. (If you’re using the batch mode, extract all these files from the ZIP you get.) - Restart Locus.
- Find map shading settings in Locus.
- Enable it, and change type to “Colored elevation”.
- The new CPT files should show up in the “External themes” section.
- Select a file best suited for the region you’re currently in.
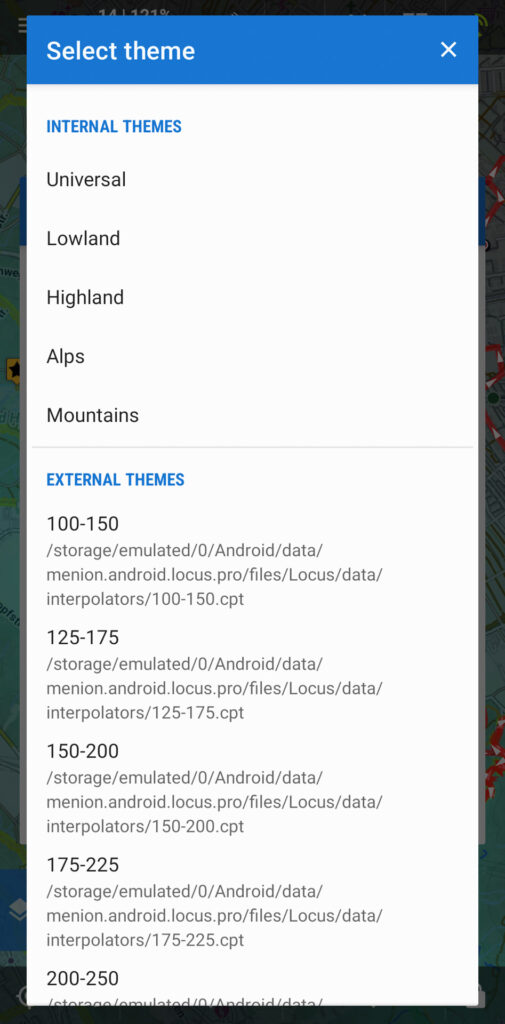
If you’re seeing a lot of green or white patches, then you likely selected a mismatched CPT file for the area you’re currently viewing. E.g. if the region you’re looking at has mostly the elevation of 100-150m, and you select the 150-200.cpt file, then it will show up as a solid green patch (because all pixels there are below 150m).